Safety Features Every Garage Door Should Have (Auto-Reverse, Secure Remotes, and Child-Proofing)
.jpg)
You’re carrying groceries, your kid’s trailing behind you, the dog’s trying to bolt outside, and the garage door is coming down. In moments like that, it’s easy to treat the door like background noise, until it isn’t.
A garage door is the largest moving object in most homes. It’s heavy, it moves fast, and it can hurt people and damage cars when something fails. The good news is that modern garage door openers are required to include auto-reverse and safety sensors (under UL 325 and related federal safety rules). The bad news is that those safety systems can stop working when sensors get bumped, parts wear out, or the opener is simply outdated.
This guide breaks down the safety features every garage door should have, how to test them in minutes, and which upgrades give the best protection without wasting money. If any test fails, treat it like a real warning and book a pro inspection.
Auto-reverse and safety sensors, the non-negotiable features that prevent crushing injuries
Auto-reverse is exactly what it sounds like: if the closing garage door hits something, it should stop and reverse. That “something” might be a bike tire, a bumper, a trash can, a pet, or a child who slipped under the door.
Most homeowners assume, “My opener is newer, so it’s safe.” A newer opener helps, but the label isn’t the real test. Working condition is what matters. UL 325 requires residential openers to have two independent entrapment protections, a built-in force reversal system plus an external device such as photoelectric sensors (the “safety eyes”). That two-layer setup is meant to reduce the chance that a single failure leads to injury.
If your opener is very old, especially if it lacks photo eyes or uses outdated settings that don’t respond well, replacement is often the best safety upgrade you can buy. You’re not just paying for convenience, you’re paying for a door that’s far less likely to trap someone.
How auto-reverse works (force detection plus the photoelectric “safety eyes”)
Auto-reverse is usually a two-part system:
1) Force detection (inherent reversal):
The opener monitors resistance as the door closes. If it senses the door is pushing too hard against an object, it should stop and reverse. This is the backup layer, not the first line of defense.
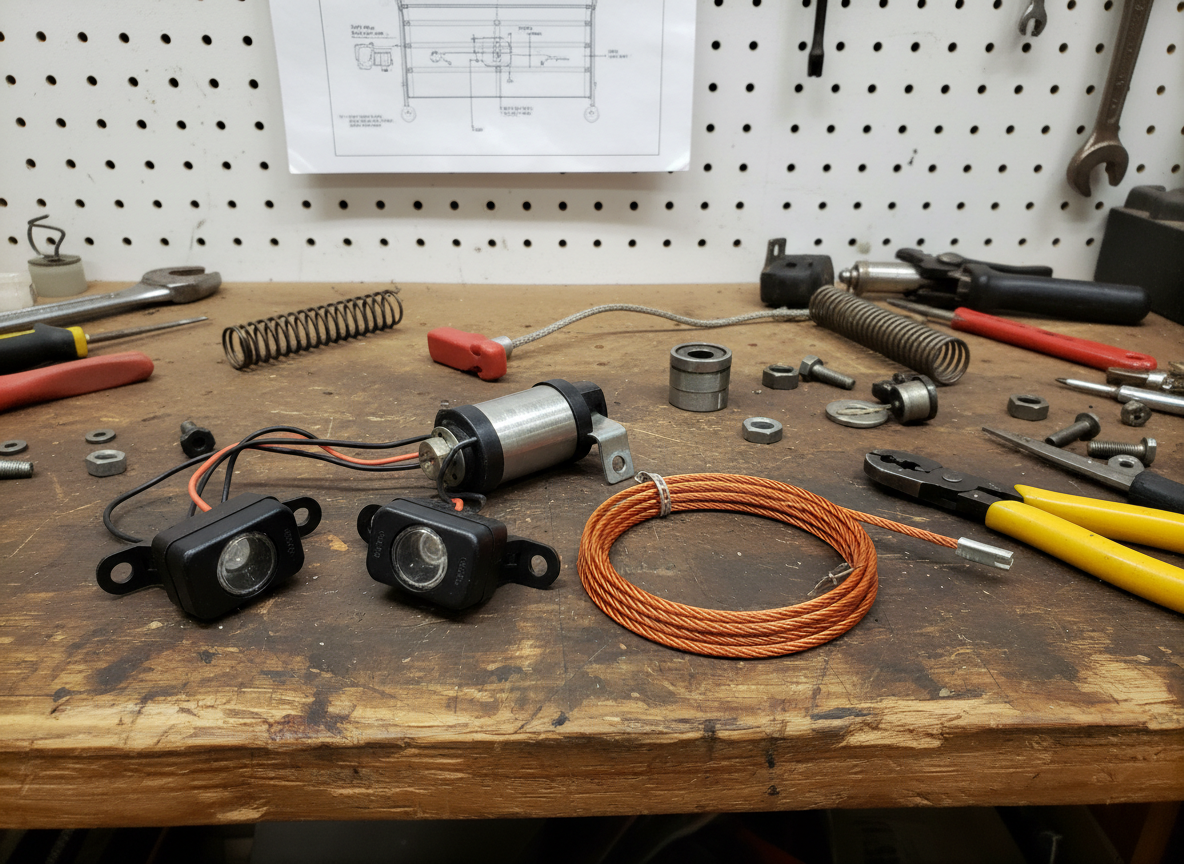
2) Photoelectric sensors (external entrapment protection):
These are the small sensor units mounted on each side of the door opening, near the floor. They shoot an invisible beam across the opening, and when that beam is blocked, the door should stop and reverse (or refuse to close).
In most setups, those sensors are installed close to the ground, about 6 inches above the floor. That low placement is intentional, because kids and pets are low to the ground too.
Why do these systems fail in real homes? Common causes show up again and again:
- Dirty lenses from dust, salt, or spider webs
- Bumped brackets from trash cans, bikes, or a foot
- Sun glare hitting the sensor at the wrong angle
- Loose wires or a staple nicking the wire jacket
- Wrong force settings after DIY tinkering or a rough install
- Track or roller issues that make the door move jerky, confusing the opener
If your door sometimes reverses “for no reason,” that’s often a sensor alignment issue or friction in the door system. That might feel like an annoyance, but it’s also a safety signal that something needs attention.
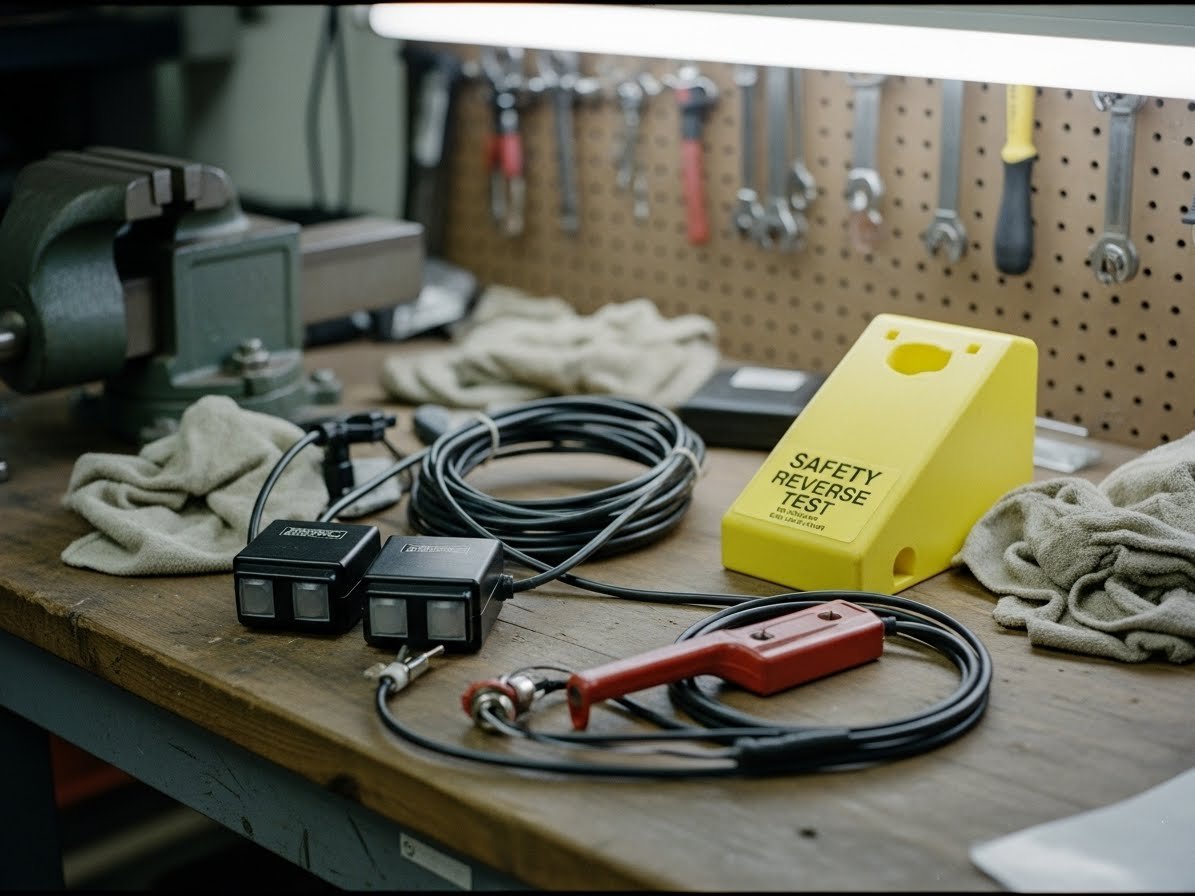
Quick monthly tests you can do at home (beam test and 2x4 test)
A monthly test takes less time than making coffee. Put it on your calendar and keep it simple.
Test 1: The photo-eye beam test (should reverse right away)
- Start with the door open.
- Press the wall button to close the door.
- Wave a broom, your leg, or a box through the sensor path as the door begins to move down.
- The door should stop and reverse immediately.
A fail looks like: the door keeps closing, hesitates, or only reverses after it has traveled too far. If it fails, clean the lenses first and check that both sensors point straight at each other. If the indicator lights on the sensors are blinking or off, that’s another clue.
Test 2: The 2x4 test (checks force reversal)
- Lay a 2x4 flat on the floor under the center of the door.
- Close the door using the wall button.
- When the door hits the 2x4, it should reverse soon after contact.
A fail looks like: the door presses hard into the board and doesn’t reverse, or it reverses only after crushing down with force. Stop using the opener and schedule service.
One safety line that matters: don’t adjust torsion springs or high-tension hardware yourself. Springs, cables, and bottom brackets can cause serious injury. If the door feels heavy, slams shut, or won’t stay halfway open when disconnected, call a garage door tech.
Secure garage door remotes and smart controls that block break-ins
A garage door is more than a place to park. For many homes, it’s a direct path into the kitchen, laundry room, or main hallway. Treating the opener like a simple button is like leaving a spare key under the mat.
Security starts with the remote system. Modern openers and remotes usually use rolling codes and better radio security. Older systems, especially fixed-code designs, can be easier to copy.
If you want peace of mind, focus on two things: secure remotes and locked-down smart access. These upgrades often cost far less than replacing stolen items or dealing with property damage, and they can support safer habits that insurers like to see.
Choose rolling-code remotes and modern openers, avoid fixed-code systems
Rolling code means the opener and remote “agree” on a new code every time you press the button. The next press uses a different code. That makes it much harder for someone to capture a single signal and reuse it.
Fixed-code remotes, common on older units, rely on the same code each time. Some use dip switches inside the remote and opener. If your system has dip switches, treat it as a security weak spot.
Practical upgrade guidance:
- If your opener is older and uses a fixed code, replace the opener or add a compatible receiver kit that supports rolling codes (a garage door pro can tell you what works with your door).
- If you lose a remote, don’t just buy a new one. Erase the opener’s memory and reprogram only the remotes you still control.
- If you move into a new home, reset the opener and keypad codes. You don’t know who has a clicker in a drawer.
A quick habit that prevents a lot of break-ins: don’t leave a remote clipped to a visor in an unlocked car parked outside. That’s a simple theft path, and it happens more often than people think.
Lock down smart garage door apps (2FA, updates, and safer Wi-Fi settings)
Smart openers are convenient, but convenience can turn into risk when accounts are weak or old permissions stay active. Keep smart access simple and tight.
Focus on these basics:
Use a strong, unique password: Don’t reuse the email password you’ve had for years.
Turn on two-factor authentication (2FA): If your opener app supports it, use it.
Install updates: Keep the opener firmware and phone app current. Updates often fix security issues.
Limit shared access: Give access only to people who need it, then remove it when they don’t.
Review permissions: Check the app list of users, codes, or shared accounts every few months.
One home network tip that helps without being a headache: if your router allows it, put smart home devices on a guest network. It keeps them separate from computers and work devices.
If you never use phone control away from home, consider turning off remote access in the settings. Fewer entry points usually means fewer problems.
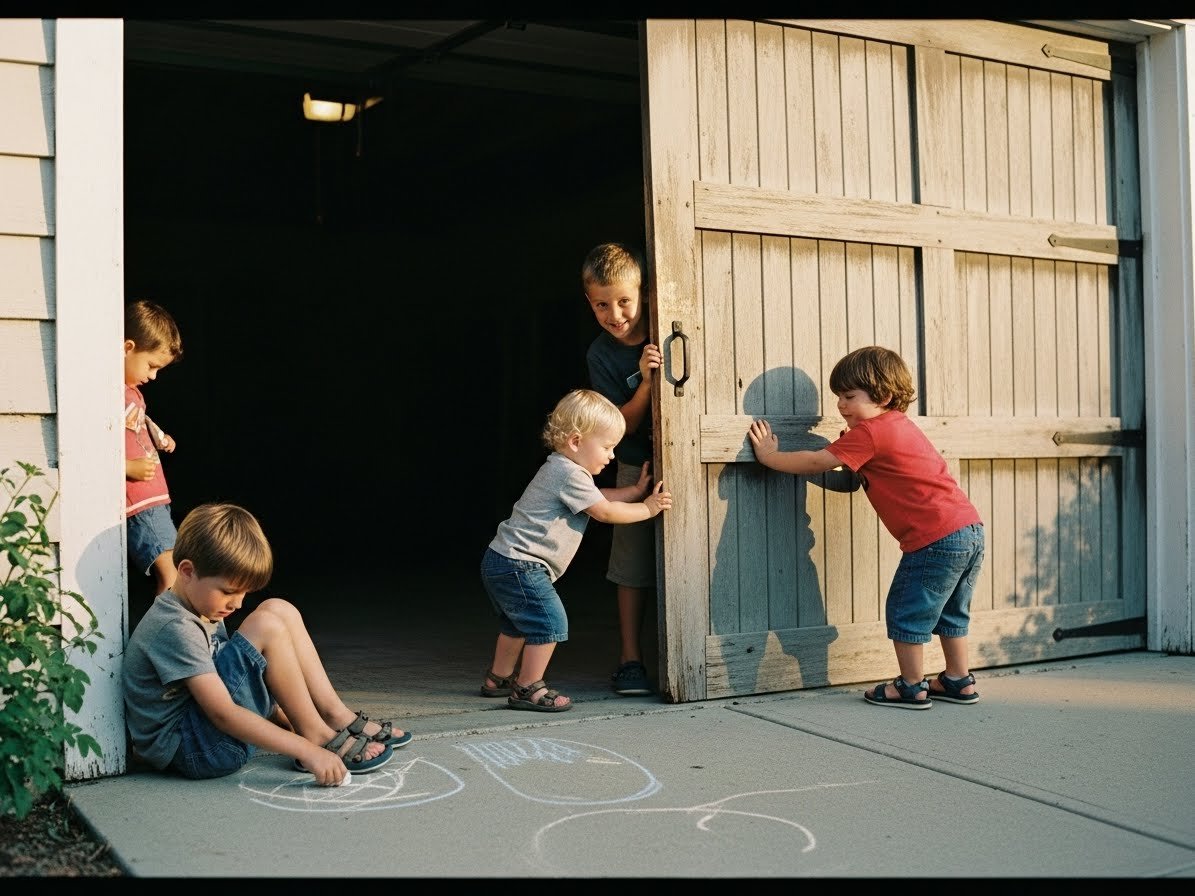
Child-proofing tips that prevent accidents, pinched fingers, and “button games”
Kids don’t see a garage door as a machine. They see a big moving wall. That’s why safety needs both hardware and house rules.
Treat the garage door like you’d treat a power tool: safe when used right, dangerous when treated as a toy. The goal isn’t fear, it’s respect and clear limits, especially for toddlers, visiting kids, and babysitters who may not know your setup.
Set up a safer garage, wall button placement, remote storage, and a clear “no-play zone”
Start with the easy wins that stop most accidents.
Remote storage: Keep clickers and key fobs out of reach. A kitchen drawer is not “out of reach” for a determined 4-year-old. Store them high, or use a key hook that’s actually high.
Wall button placement: Wall controls should be mounted high enough that small kids can’t play with them. If yours is low, a pro can relocate it.
No-play zone: Pick a simple rule that kids can remember. For example, “No one goes near the door when it’s moving.” Make it visible by marking a line on the floor with tape a few feet back from the door. The line works like a pool’s “no running” rule, it’s a cue that gets followed when adults enforce it.
Keep the opening clear: Bikes, scooters, and bins near the track area cause two problems. They invite kids to play near moving parts, and they also bump sensor brackets out of alignment. A clean path protects your family and keeps the safety eyes working.
One more security safety combo: never leave a remote in a car parked in the driveway, even if the door is closed. A stolen remote can turn into a stolen home.
Reduce pinch and entrapment risks (door hardware checks and emergency release awareness)
Finger injuries happen fast at the seams between door panels. Many newer doors use pinch-resistant panels that reduce the chance of fingers getting caught during movement. If your door is older and you’re already pricing a replacement, pinch-resistant design is a worthwhile upgrade for families.
A few hardware checks also reduce sudden jerks and uneven closing:
- Bottom seal condition: A cracked seal can snag and cause weird closing behavior.
- Rollers and track: Worn rollers and bent tracks make movement rough. Rough movement can throw off force sensing and increase risk.
- Cables and pulleys: Frayed cables are not a DIY project. They’re a “stop and call” issue.
Know what the emergency release is, and teach adults in the home what it does. It’s usually a red handle on a cord that disconnects the door from the opener, so the door can be lifted by hand during a power outage or opener failure.
Two cautions matter here:
- Don’t let kids pull the release as a game. A disconnected door can move unexpectedly.
- If the door feels too heavy to lift, stop. That points to spring or balance trouble.
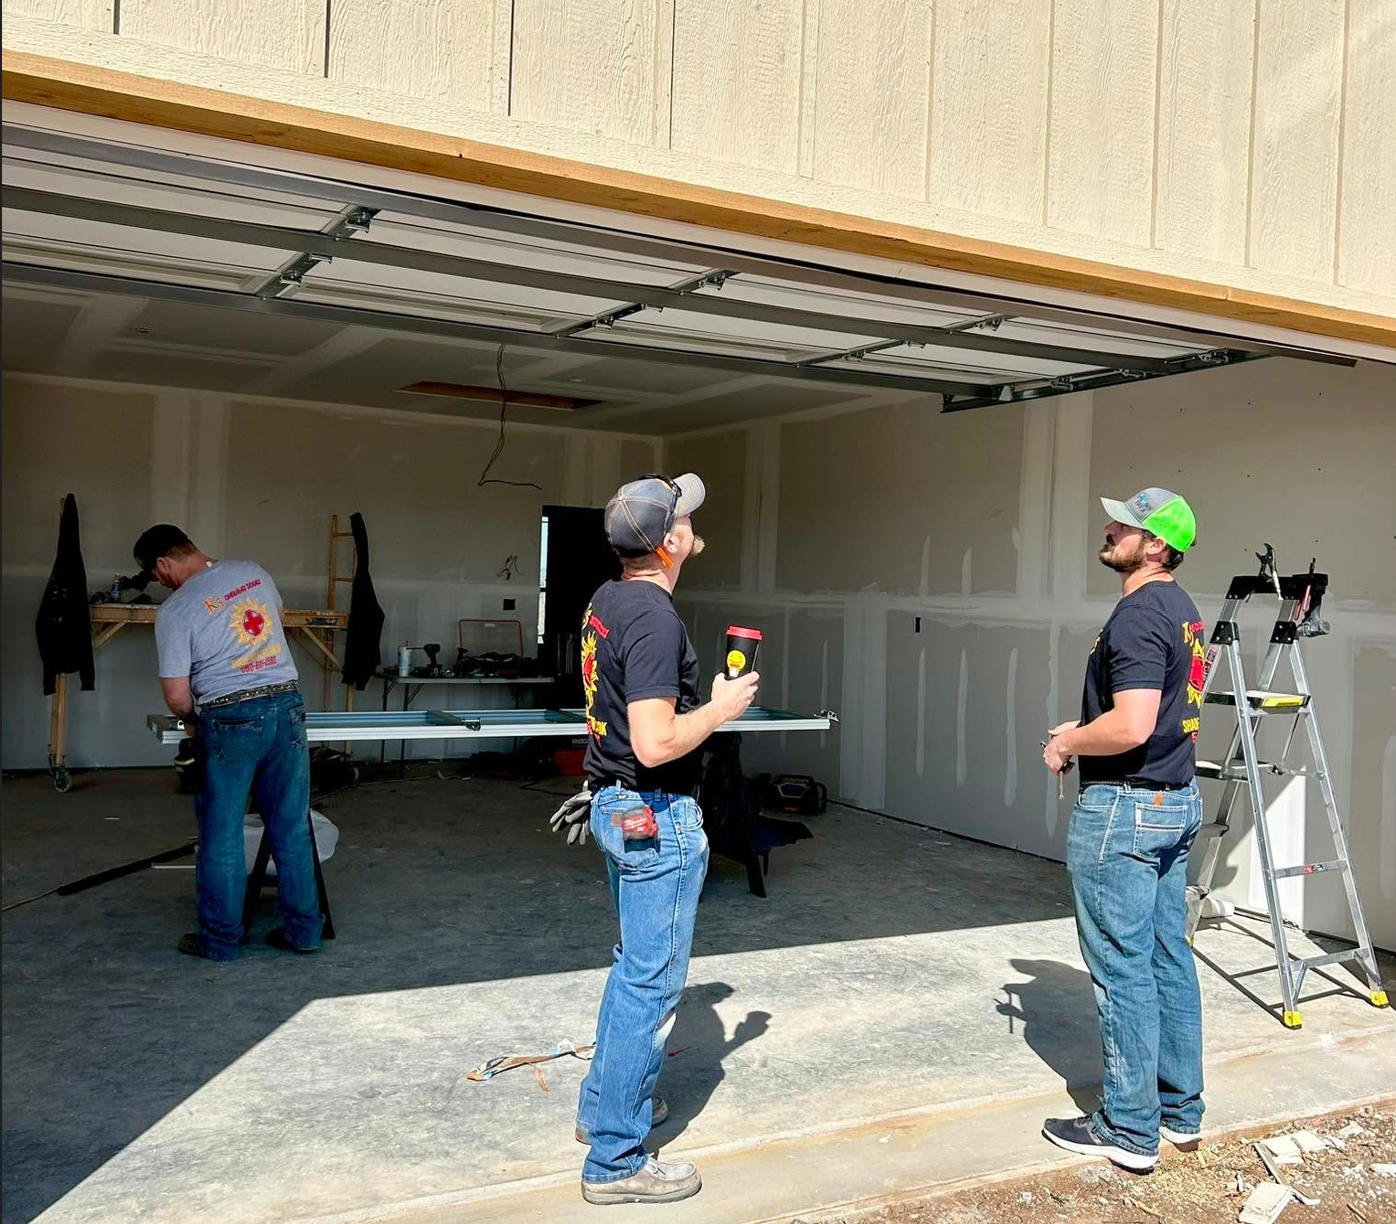
A professional tune-up can set the door balance, check spring condition, inspect cables, and confirm force settings. That’s the kind of service that makes your safety features work the way they’re supposed to.
A quick safety checklist and when it’s time to call a garage door pro
If you want the short version, here are the safety must-haves that protect people and reduce break-in risk:
- Auto-reverse that works (force reversal plus photoelectric safety sensors)
- Photo eyes aligned and responsive (clean lenses, solid mounts, correct height)
- Rolling-code remote system (avoid fixed-code, dip-switch remotes)
- Smart opener security basics (strong password, 2FA when available, updates)
- Child-proof habits (remotes stored high, clear “no-play zone,” door area clean)
Call a garage door pro now if you notice any of these:
- The door doesn’t reverse during the beam test or 2x4 test
- Sensors don’t respond, blink, or won’t stay aligned
- The door slams, feels heavy, or won’t stay halfway open
- You see frayed cables or hear loud grinding
- The door reverses often with no clear cause
A safety inspection and small upgrades usually cost far less than a damaged car, a broken door, or an injury. If your opener is outdated, replacing it can be the simplest way to get modern protection in one step.
Conclusion
Most garage door safety gains come from a few features and a few habits. Working auto-reverse and photo eyes protect kids, pets, and vehicles. Rolling-code remotes and basic smart security cut down the odds of an easy break-in. Child-proofing turns the garage from a temptation zone into a safer space.
Test your sensors today, run the 2x4 check, and take five minutes to see what kind of remote system you have. If anything fails, don’t keep “trying it and hoping.” Schedule a professional safety inspection, fix the issue, and upgrade an older opener if needed. Your garage door should close with confidence, not crossed fingers.
About Aubrey Love
Aubrey is a web developer, author, and blogger with over 15 years of experience in web development and 10 years as a blogger. He specializes in responsive and interactive web pages, databases (SQL Server), and professional writing. He has a B.E.E. degree in Electrical Engineering and holds several certificates in SQL Server Database Administration, HTML, CSS, JavaScript, and tech writing.